
What Causes Roller Marks and Streaks in Paint? The Real Reasons
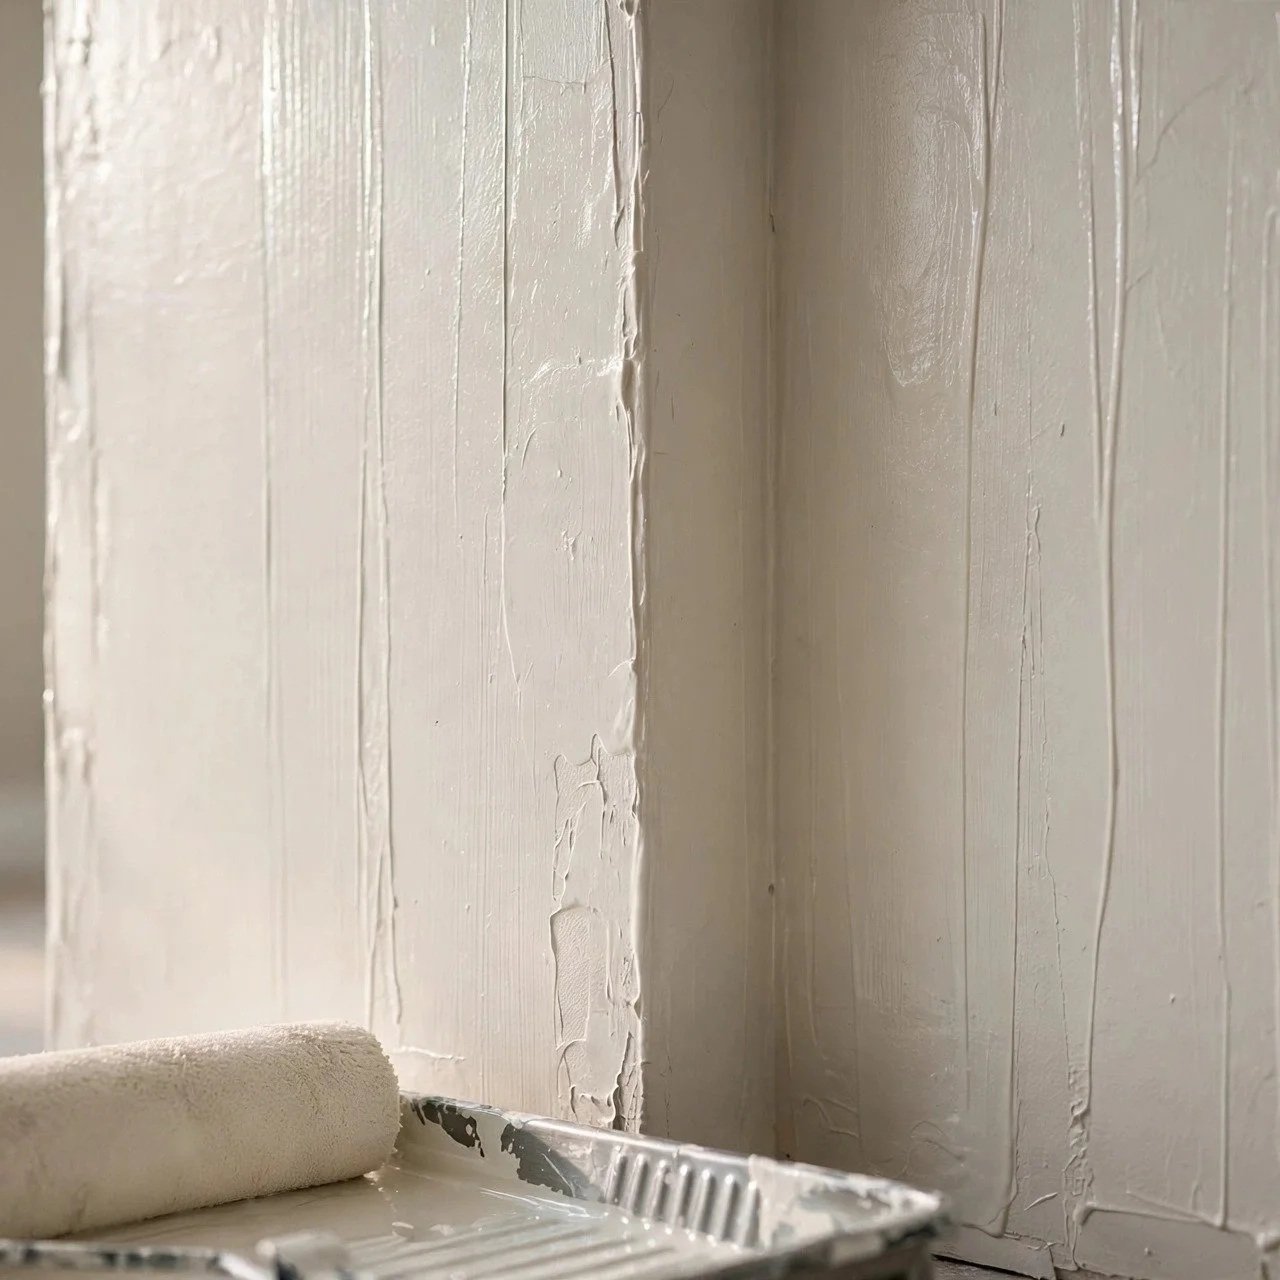
You step back after a coat dries, the light shifts, and the wall is suddenly a map of stripes, ridges, and dull patches that were invisible while the paint was wet. It is one of the most frustrating parts of painting a room, partly because the marks tend to hide until the surface is fully dry and the moment to fix them easily has passed.
The good news is that almost none of it comes from a defective can of paint. Roller marks, lap lines, streaks, ridges, missed spots, and stipple are mostly a record of how the paint was applied and how it dried, not what was inside the bucket. Once you understand the handful of mechanisms behind those marks, they stop feeling random, and most turn out to be preventable with technique and the right tools.
Quick Answer: Roller marks and streaks almost always come from application and drying, not the paint itself. The big causes are letting an edge dry before you roll the next section into it, putting too little or too much paint on the roller, using the wrong nap for the wall's texture, skipping primer so the surface drinks paint unevenly, and using a cheap or worn roller cover. Keeping a wet edge, loading the roller correctly, matching the nap to the surface, and priming for even absorption removes most of them.
How Roller Marks Actually Form
Paint does not dry all at once. A rolled coat stays workable for a few minutes, then the surface begins to set. Every roller defect traces back to that short open window, so it helps to sort the marks by cause rather than by how they look.
The first family is the lap mark. As you roll, the freshly coated area has a still-wet border, and that border is where the next pass is supposed to blend in. Roll into it while it is wet, and the two passes fuse invisibly. Wait too long, let that border set, then roll fresh paint over the top, and you build a double layer of dried plus wet film right at the seam. That overlap dries slightly thicker and often slightly glossier, so it reads as a stripe. Lap marks are almost always a timing problem, not a paint problem.
The second family comes from how much paint is on the cover. Run the roller too dry, and it drags, skips, and leaves thin streaky trails and the occasional missed spot; painters call it a holiday. Load it too heavily, and the excess pushes out at the edges of each pass as a raised ridge, and on a wall, it can sag into a run. Neither extreme lays down the even film you want, and both leave marks that catch the eye later.
The third family is texture mismatch, which is really a nap problem. The nap is the fabric pile on the roller cover, and its length decides how paint transfers to the surface. A short, dense nap on a rough or textured wall cannot reach into the low spots, so it lays a thin, patchy, streaky coat. A long, fluffy nap on a smooth wall dumps too much paint and leaves a bumpy orange-peel stipple. The wrong pile length fights the surface either way.
Then there are the marks from inconsistent motion. If you change direction constantly, or never back-roll to smooth the final pass, the film sets with the roller's path frozen into it. Working in one final direction on each section, and lightly rolling back over the fresh paint before it sets, pulls those lines out while there is still time.
The Causes That Live on the Surface and the Tools
Not every streak starts with your arm. Several come from what you rolled onto and what you rolled with.
Skipping primer is a big one, and its marks look different from application streaks. Bare drywall, spackled patches, and old flat paint all soak up a topcoat at different rates. Where the surface drinks in more paint, that spot dries thinner and duller; where it seals the surface, the paint sits on top and stays richer. The result is a blotchy difference in sheen and depth of color called flashing, and no amount of careful rolling fixes it because the cause is underneath. A coat of primer gives the whole wall one uniform porosity, so the topcoat sits and dries the same everywhere.
The cover itself matters more than most people expect. A cheap roller sheds fibers into the wet film, leaving bristles and specks stuck in the finish. A cover that has been used hard, cleaned many times, or left to dry stiff loses its even pile and lays paint down unevenly, showing up as faint streaks even when your technique is fine.
Sheen and light play a supporting role that decides whether any of this is visible at all. A higher-sheen paint reflects light, so every ridge, lap line, and bit of stipple throws a tiny highlight and shadow. The same wall in a flat or matte finish scatters light and hides those same imperfections. Light angle stacks on top of sheen: a wall lit straight on can look clean, while raking light skimming across it from a window or lamp turns minor texture into obvious lines. A flatter sheen on a large wall is forgiving precisely because it refuses to spotlight small flaws.
Think of a rolled wall like a still pond. Drop stones in the same rhythm and the ripples overlap into one even surface, but pause too long between throws, and each new set of ripples crosses the fading old ones, leaving lines where they meet. Keeping a wet edge is that steady rhythm, and losing it is the pause that freezes the pattern in place.
How to Prevent Roller Marks Before They Set
Prevention is far easier than repair, and it comes down to a short list of habits.
Keep a wet edge and work in manageable sections. Paint an area you can finish and blend before its border sets, usually a strip a few feet wide from ceiling to floor, then start the next strip while the last edge is still wet so the passes fuse. Chasing the whole wall at once is how edges dry out, and lap lines appear.
Load the roller properly and lay it off in one direction. Dip, roll it out on the tray ramp until the cover is evenly coated without dripping, spread the paint on the wall, then finish each section with light passes, all going the same way. That final directional pass is what erases the roller's texture and gives the coat a consistent look.
Match the nap to the texture and use a quality cover. Pick the pile length for the wall you actually have, put the money into a cover that will not shed, and retire covers that have gone stiff or matted. Prime bare, patched, or heavily repaired surfaces first so the topcoat absorbs evenly and flashing never gets a chance to start.
Plan on two coats and keep your technique identical between them. A single coat rarely builds a fully even film, and the second covers minor unevenness from the first, but only if you keep the same wet edge, loading, and lay-off direction. Switching technique between coats can add marks instead of removing them.
Telling One Problem From Another
Because the fixes differ, it pays to read the marks before you react. Ask what the pattern is telling you.
If you see stripes and ridges that follow the shape of your roller passes, that is an application issue: a lost wet edge, uneven loading, or inconsistent lay-off. The answer is technique on the next coat.
If you see dull, blotchy patches that do not line up with your strokes and instead follow where the wall was patched or left bare, that is an absorption issue pointing straight at missing primer. Priming and recoating is the fix, not rolling harder.
If the wall actually looks even in soft, flat light but breaks out in lines the moment a lamp or window rakes across it, that is a sheen-and-light issue. The film may be fine, and a flatter finish on the recoat will quiet the marks that a glossier one was advertising.
Sorting the problem this way keeps you from sanding a wall that only needed primer, or repriming one that only needed a steadier wet edge.
A Note on Ventilation and Working Conditions
Good technique is easier in the right conditions. Keep the room ventilated while you paint, and while the coat dries, both for air quality and because trapped, humid air slows drying and widens the window where lap marks form. Avoid painting a wall in harsh direct sun or a hot draft, which dries the edge faster than you can roll into it and practically manufactures lap lines. Steady temperature and moving air give the paint the even, predictable dry that clean walls depend on.
Frequently Asked Questions
Latex paint's open time, how long the border stays workable, is often only about 10 to 15 minutes, and it shrinks further in heat or a dry breeze. That short window is why you cut in and roll one wall at a time instead of opening up the whole room at once, because a border that sets before you reach it can no longer blend. Roll fresh paint over that set edge, and the overlap lays a double film that dries darker or glossier, which reads as a stripe once everything cures.
Match the nap length to the surface you are painting. A short nap of about a quarter inch suits smooth walls and doors, a medium nap handles light texture like a lightly knocked-down drywall finish, and a thick nap belongs on rough or stucco surfaces where paint has to reach into deep, low spots. Get it wrong in either direction, and the coat suffers: too short a nap on a rough wall leaves a thin, streaky coat that never fills the texture, while too thick a nap on a smooth wall dumps excess paint that dries into a heavy stipple.
Sheen sets how much a mark can show at all: flat and matte hide marks best, eggshell and satin show more, and semi-gloss and gloss reveal nearly everything. That is why a hallway with raking window light usually gets a lower sheen, while a bright kitchen where you want washability takes a higher one and accepts the tradeoff. Raking light stacks on top of the sheen, so a low-angle beam from a lamp or window throws a shadow off every ridge that straight-on light would have hidden.
It can, and the fix depends on the surface: use a PVA primer over new drywall and a stain-blocking primer over patches or stains. Bare drywall and joint compound drink paint at a different rate than the surrounding wall, so an unprimed patch dries duller and thinner in a blotchy effect that follows the repairs rather than your strokes. Priming evens that absorption so the topcoat sits on one uniform base and the sheen matches from patch to patch instead of flashing.
Let the coat dry fully first, then lightly sand the raised ridges and any shed fibers until the surface is smooth to the touch. Wipe off the dust and apply another full coat, keeping a wet edge the whole time and laying off every section in one consistent direction. The key is committing to a complete recoat rather than spot-touching the streak in place, because dabbing fresh paint onto a dried mark almost always sets up a new patch of mismatched sheen right where you were trying to hide the old one.
Yes, on both counts. A thin, inexpensive paint carries less solid material, so it drags across the wall, covers less per pass, and shows streaks more readily than a fuller-bodied paint that flows out and levels as it dries. Sheen stacks on top of that: a glossier finish highlights every imperfection it can find, while a lower sheen hides them. On a large wall where a few uneven passes are almost inevitable, a quality paint in a flatter sheen is simply more forgiving of ordinary technique.
Book a free estimate for a smooth, even finish — get walls done right the first time. True Coat Painting serves Reno, Sparks, and Spanish Springs. Call (775) 227-0618.
