
How Many Coats of Paint Do Interior Walls Actually Need
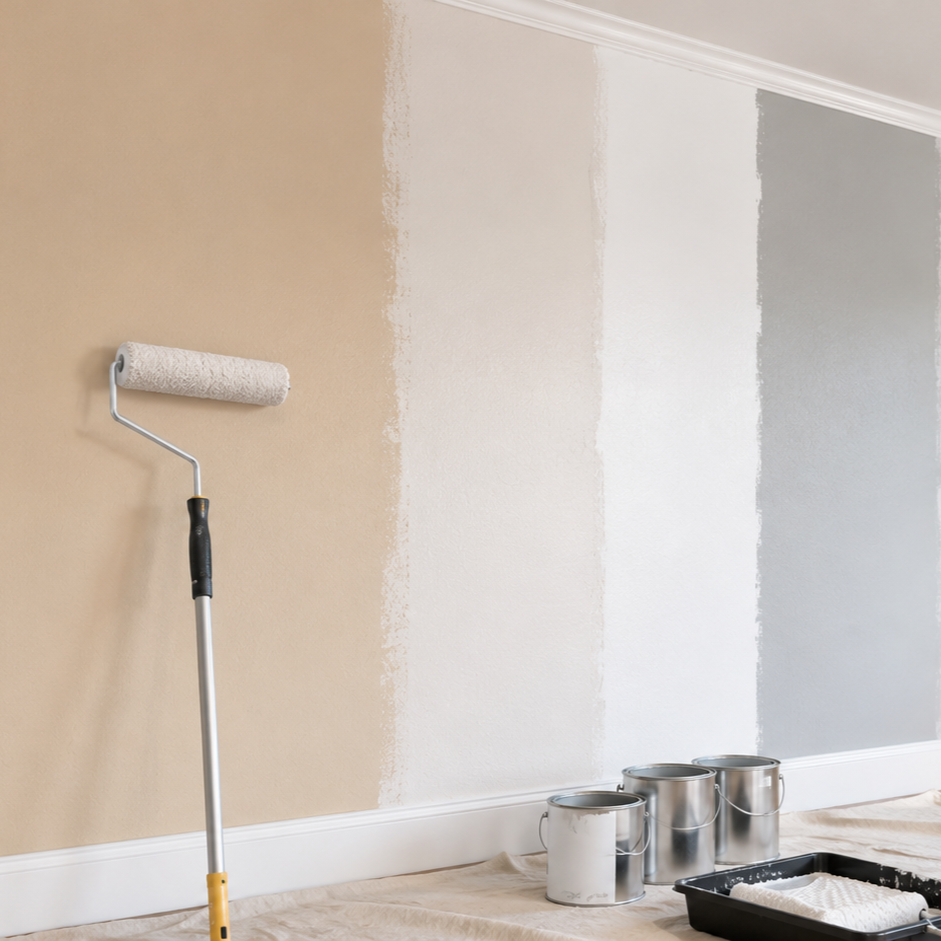
You finish rolling the first coat and step back to check the wall. It looks done. Half an hour later, you walk past the same wall in late-afternoon light, and the old beige is still ghosting through the new white like a stain bleeding through tissue paper. The wall isn't done. It's barely halfway there.
Most interior paint jobs land at two coats. A small number need three. A few need four. And one is almost never enough, even when the can on the shelf says it will be.
Here is how to tell which job you are actually on before you buy the wrong number of gallons.
Two coats is the honest baseline
Strip away the marketing copy and almost every reputable manufacturer says the same thing on the back of the can: two finish coats over a sound surface. That's what wall paint is engineered to do. The first coat lays down the pigment and binder. The second coat brings the color to full opacity and the sheen to its rated finish. Skipping the second coat doesn't save you money so much as guarantee a noticeable patch in a year when the sun bleaches the thin spots faster than the thick spots.
The reason it works as a default is physical. Paint dries down to roughly half the thickness of what you rolled on. Pigment in the first coat scatters light, but plenty of light still finds the wall behind it. The second coat fills in those gaps and lays a uniform film thick enough to stop the wall color from reading through. Pros call it "hide." A single coat of even very good paint usually doesn't have it.
That's the rule. Then the exceptions start.
When you need a coat of primer first
Primer isn't a finish coat. It's a separate product designed to bond to the wall and give the topcoat something to grip. It also blocks stains, evens out porosity, and stops color or marker bleed-through. A coat of primer plus two finish coats is three coats total, even if the homeowner thinks of it as a two-coat job.
A few situations make primer mandatory, not optional.
| Situation | Primer needed? | Topcoats | Total coats |
|---|---|---|---|
| Repainting same color, walls clean and sound | Usually no | 2 | 2 |
| Repainting a similar color (beige → off-white) | No, if walls are clean | 2 | 2 |
| Light wall → dark, saturated color | Tinted primer | 2 | 3 |
| Dark wall → light color | Stain-blocking primer | 2 | 3 |
| New drywall (raw, never painted) | PVA drywall primer | 2 | 3 |
| Skim-coated or large patched areas | Primer over the patches | 2 | 3 (spot) |
| Stained walls (water, smoke, marker, grease) | Stain-blocking primer | 2 | 3 |
| Glossy old surface (semi-gloss or oil) | Bonding primer after sanding | 2 | 3 |
| Painting over wallpaper paste residue | Oil-based primer | 2 | 3 |
The pattern is consistent. Any time the wall isn't a stable, similarly-colored, sound surface, a primer coat goes underneath. The primer doesn't have to look perfect. Roller marks and minor unevenness don't matter on a primer coat because two finish coats are going on top.
When two coats become three
The biggest single reason a job needs a third finish coat is color saturation, not direction of change. Going from light to dark is the famous example, but it's specifically going to a deep, saturated color — red, navy, forest green, charcoal, mustard — that drives the coat count up. The pigments used in those colors are translucent. They don't hide. Even at the rated dry film thickness, one coat reads streaky, and two coats often still look uneven.
Tinted primer is what turns a four-coat job into a three-coat job. A gray-tinted primer under a deep navy lets the navy reach full color in two finish coats instead of three. Without the tinted primer, the same wall might need three or four navy topcoats and still show a streak under raking light.
Going from dark to light has a different problem. Light paint doesn't carry enough pigment to bury a dark color. A coat of stain-blocking primer makes the wall look closer to the new color before the topcoats go on, and two topcoats finish it. Without the primer, a homeowner can end up applying four or five coats of the light color and still see the dark shadow.
Ceilings are their own story. A flat ceiling paint over a clean, previously painted ceiling usually goes in two coats. A ceiling stained by a roof leak, by years of cooking grease, or by smoke needs a stain-blocking primer first, or the stain reads right back through any number of topcoats. Ceilings patched after popcorn removal almost always need three coats — the patched and skim-coated areas drink paint at a different rate than the surrounding ceiling, and the rate difference shows as flashing until enough paint sits on top to even it out.
The "one-coat paint" claim — what it actually means
Most major brands now sell a one-coat coverage line. The claim isn't fiction, but it isn't a guarantee either. What it means in practice: under ideal conditions — same color or near-same color, clean wall, fresh paint, full mil thickness rolled on without thinning, normal temperature, the right sheen — that paint will reach acceptable hide in one coat.
Real-world conditions rarely match all of that list. The pigments in a premium one-coat paint do load up faster than budget paint, which is why a careful painter can sometimes get away with one coat in a hallway repaint of the exact same color. But putting that same one-coat product on raw drywall, over a stain, or in a saturated accent color produces the same need for two finish coats as any other paint. The label describes what the paint can do. It isn't a promise about every wall.
Worth knowing: one-coat paint runs $60 to $90 a gallon. Two coats of mid-grade paint at $40 a gallon often costs less per finished wall than one coat of premium paint that ends up needing a second coat anyway.
What sheen does to coat count
Sheen changes how forgiving the finish is and how visibly any imperfection reads. Flat paint hides drywall texture, roller marks, and slight unevenness in coat thickness. It's the most forgiving and usually finishes cleanly in two coats. Eggshell and satin are tighter — small thin spots show as a slight sheen difference until the second coat evens them out. Semi-gloss and high-gloss are unforgiving. Every roller stop, every brush mark, and every transition between the cut-in line and the rolled body reads in the dried sheen. A semi-gloss trim job almost always needs at least two finish coats with light sanding between, and sometimes three to lay down a smooth, uniform film.
That's why trim painters work in thin coats. Thicker isn't better on trim. Thick coats sag, leave brush ridges, and dry with a textured surface that reads as roller stipple under gloss. Three thin coats of semi-gloss on baseboards looks better than two thick ones, even though it adds time to the job.
| Surface and sheen | Typical coat count | Why |
|---|---|---|
| Flat wall paint, similar color | 2 | Most forgiving; first coat usually shows through |
| Eggshell wall, similar color | 2 | Slightly less forgiving than flat |
| Satin wall, similar color | 2 | Shows roller marks until evened by the second coat |
| Semi-gloss wall (kitchen or bath) | 2–3 | Sheen amplifies any thin spot |
| Semi-gloss trim, fresh | 2–3 | Thin coats look better than thick |
| Semi-gloss trim, repaint over old oil | Primer + 2 | Bonding primer needed first |
| High-gloss doors or cabinets | 2–3 with sanding between | Surface tension shows every flaw |
Why one coat usually fails
The single coat that looks fine when wet rarely looks fine when dry. Three things happen during drying that turn a one-coat job into a two-coat redo. The paint film shrinks to roughly half its wet thickness, so the actual layer of pigment over the wall is thinner than what you brushed on. The wet sheen of fresh paint masks unevenness; once it dries flat, every variation in coverage reads. And the wall behind a thin film keeps reflecting some of the light that passes through, so even a fully covered surface looks tinted by the color underneath.
You see it most in north-facing rooms in winter, when low-angle light skims across the wall and lights up every thin spot. A wall that looked fine at noon in July starts showing roller patterns in January. That isn't bad paint. That's one coat where two were needed.
When the painter recommends a fourth coat
Four coats is rare on residential interior work, but it does happen. The two situations where a careful painter calls for a fourth: a deep saturated color over an unfavorable substrate — navy over yellow wall, red over white, anything with translucent pigments going onto a sharply different base — and a high-gloss finish on a surface that needs to look mirror-smooth, like cabinet doors, an inset panel, or a piano-finish front door. Each of those involves diminishing returns. The fourth coat isn't fixing a coverage problem so much as building enough film to sand and rub out to a uniform sheen.
Anywhere else, a request for a fourth coat is a sign something earlier went wrong. Either the prep skipped a primer that was needed, the paint was thinned too far, a topcoat was applied over a still-tacky undercoat, or the wall has a stain bleeding through. Stopping to fix the real problem is cheaper than chasing it with more coats.
FAQs
Coverage claims on the can — usually 350 to 400 square feet per gallon — assume a smooth, fully primed surface, a roller with the right nap, and an experienced applicator. On a real wall with cut-ins, corners, and texture, expect closer to 250 to 350 square feet per gallon for the first coat. The second coat usually covers more because the surface is already sealed. Buying a little extra is cheaper than running back to the store mid-coat.
Sometimes, on a flat or eggshell finish, with premium paint, in a low-light room. Most of the time, no. Even a near-identical color reads as patchy at the cut-in line and on corners where the roller couldn't reach. A second coat takes less time and paint than the first coat and is what makes the finish look like a finish.
For latex wall paint at normal room temperature and humidity: two to four hours recoat for flat and eggshell, four hours minimum for satin and semi-gloss. Trim paint and high-gloss usually want at least four hours, often overnight for the best result. Cold or humid air slows everything down. A coat that feels dry to the touch isn't always ready for recoat — the binder underneath is still curing. Recoating too early traps moisture and causes the film to bubble or peel weeks later.
Yes, at least on the patches themselves. Spackle and joint compound are porous and absorb paint faster than the surrounding painted wall. Without primer on the patches, the patched areas show as dull spots under any sheen above flat — a phenomenon called flashing. A spot-prime over the patches before the finish coats is usually enough. You don't need to prime the whole wall unless the repairs covered a large area.
It does. A roller cover with the wrong nap leaves either too little paint (short nap on a textured wall) or too much in the wrong places (long nap on a smooth wall, leaving stipple). The right nap for a standard wall is 3/8 to 1/2 inch. Smooth doors and trim want a 1/4 inch microfiber or foam roller. The wrong roller on either surface can mean an extra coat to even out the texture difference.
Usually yes. Saturated colors — deep blues, true reds, charcoal, mustard, forest green — almost always need three coats, sometimes over a tinted primer, which adds 50 to 100 percent to the labor and materials for that wall. Accent walls also tend to be priced as their own line item rather than rolled into the per-square-foot wall rate, because the color change is the whole point of the wall.
What "enough coats" actually looks like
A finished wall looks the same color under every angle of light. The cut-in line at the ceiling and trim should disappear into the field of the wall, not show as a thicker stripe. There should be no shadow of the previous color visible when you stand five feet back in afternoon sun. The sheen should be uniform — no patches where the wall reads brighter or duller as you walk past. If any of those tests fail, the job needs another coat.
The painter who tells you a wall is done before you've checked it under raking light is the painter you have to call back in six months. The painter who walks the room with you, looks at the trim cut, opens the blinds, and tells you which spots still need a third pass is the one whose work still looks right when winter sun rakes across it next January.